


Ever wondered why your car’s battery keeps dying? You might be dealing with a faulty alternator.
But don’t worry, testing a car’s alternator doesn’t require you to be a mechanic. Imagine the peace of mind knowing your car won’t suddenly lose power on the road. By learning how to test your alternator, you can prevent inconvenient breakdowns and save money on repairs.
Are you ready to take control and ensure your car runs smoothly? In this guide, you’ll discover simple steps to check if your alternator is in good shape, empowering you to keep your vehicle’s electrical system in top condition. Let’s dive in and uncover the secrets to a reliable ride.
Essential Tools And Equipment
Testing a car’s alternator requires the right tools. These tools help ensure accurate results. Having the correct equipment makes the process simpler. Proper gear enhances safety and efficiency.
Essential Tools For Alternator Testing
Multimeter is key. It measures voltage and current. A digital multimeter is preferred for its precision. Make sure it’s in good working condition.
Battery load tester is another must-have. This checks the battery’s health. It simulates real-world electrical demands. A weak battery can affect alternator tests.
Understanding The Equipment
Multimeter should have a clear display. Easy-to-read screens prevent errors. Ensure probes are intact. Broken probes can give false readings.
Battery load tester should be reliable. It must handle various battery types. Regular checks keep it functioning well. This ensures accurate results.
Safety Gear
Wear protective gloves. They protect against electrical shocks. Gloves should be non-conductive. This enhances safety during testing.
Safety goggles are essential. They shield eyes from sparks. Goggles should fit comfortably. This prevents distractions while working.

Credit: www.youtube.com
Safety Precautions
Testing a car’s alternator requires careful safety precautions. Ensure the car is off and cooled down. Wear insulated gloves and goggles to prevent electrical shocks and injuries.
Testing a car’s alternator is a crucial task to ensure your vehicle runs smoothly, but it’s important to keep safety at the forefront of your mind. Many people overlook the potential hazards involved. Taking the right precautions not only protects you but also preserves the integrity of your car.Inspect Your Workspace
Before diving into the test, look around. Is your workspace clutter-free? A tidy area reduces the risk of accidents. Ensure there’s enough lighting to see clearly, especially if you’re working in a garage.Wear Protective Gear
Safety glasses are a must. They shield your eyes from sparks or debris. Gloves protect your hands from burns or cuts, especially when handling cables. Even if you’re confident, these precautions are vital.Disconnect The Battery
Always disconnect the battery before testing the alternator. This prevents electrical shocks. Carefully remove the negative cable first. Have you ever felt a jolt because you skipped this step? It’s a feeling you’ll want to avoid.Use The Right Tools
Are your tools in good condition? A faulty multimeter can give incorrect readings and lead to mistakes. Check that your tools are insulated and rated for the job at hand.Keep Loose Clothing Away
Loose clothing can easily get caught in moving parts. Roll up sleeves and remove dangling jewelry. Imagine the hassle of dealing with a snagged shirt while testing—it’s best to prevent it.Be Mindful Of Your Surroundings
Is anyone nearby who might accidentally bump into you? A sudden jolt can mess with your test or even result in injury. Let others know you’re busy and need space. Testing an alternator can seem straightforward, but overlooking safety can turn this simple task into a risky endeavor. Have you ever thought about the hidden dangers in your routine car maintenance? Prioritizing safety keeps you one step ahead.Identifying Alternator Issues
Identifying alternator issues is crucial for maintaining your vehicle’s health. The alternator keeps the battery charged and powers electrical components. Knowing when your alternator is failing can prevent breakdowns. Early detection helps avoid costly repairs. Let’s explore some common symptoms and their impact on vehicle performance.
Common Symptoms
Several signs indicate alternator problems. Flickering headlights are a red flag. Dim or overly bright lights suggest alternator issues. A dead battery is another symptom. If the battery dies frequently, the alternator might be the cause. Strange noises, like whining or grinding, can signal alternator trouble. Warning lights on the dashboard are also alerts. The battery warning light often points to alternator problems.
Impact On Vehicle Performance
Alternator issues affect how your vehicle runs. A failing alternator can lead to engine stalls. This happens when the battery lacks power. Electrical components may malfunction. Power windows, radio, and air conditioning may work poorly. Your vehicle might struggle to start. Without a functioning alternator, the battery can’t recharge. Reduced performance can increase fuel consumption. Fixing alternator problems ensures smooth driving.
Preparing Your Vehicle
Testing your car’s alternator starts with proper preparation. Before diving into testing, ensure your vehicle is ready. This prevents damage and ensures accurate results. The preparation stage is crucial for a smooth process. Follow these steps to prepare your vehicle effectively.
Parking And Engine Off
First, find a safe place to park your car. Make sure it’s level and stable. Engage the parking brake for added safety. Turn off the engine completely. Remove the keys from the ignition. This step ensures safety and accuracy during testing.
Battery Inspection
Inspect the car battery visually. Look for any signs of damage or corrosion. Check the battery terminals for cleanliness. Clean them if necessary using a wire brush. Secure all battery connections firmly. A clean, well-connected battery aids in accurate alternator testing.
Voltage Testing With A Multimeter
Testing your car’s alternator is crucial for ensuring your vehicle runs smoothly. A malfunctioning alternator can lead to unexpected breakdowns, leaving you stranded. One practical method to test the alternator is using a multimeter for voltage testing. It’s a straightforward process that can save you money and time. Let’s dive into how you can do this effectively.
Setting Up The Multimeter
First, you’ll need to set up your multimeter correctly. Turn the dial to the DC voltage setting, which is usually indicated by a ‘V’ with a straight line above it. This setting allows you to measure the battery voltage accurately.
Ensure the multimeter leads are securely connected. Insert the black lead into the COM port and the red lead into the port marked with a ‘V’. This ensures correct polarity and prevents inaccurate readings.
Have you ever felt the thrill of doing something yourself, like fixing a broken appliance? Testing your alternator can give you that same satisfaction. Don’t be intimidated; it’s easier than it looks.
Measuring Battery Voltage
Once the multimeter is set up, it’s time to measure the battery voltage. Start your car and let it idle. Then, place the red lead on the battery’s positive terminal and the black lead on the negative terminal.
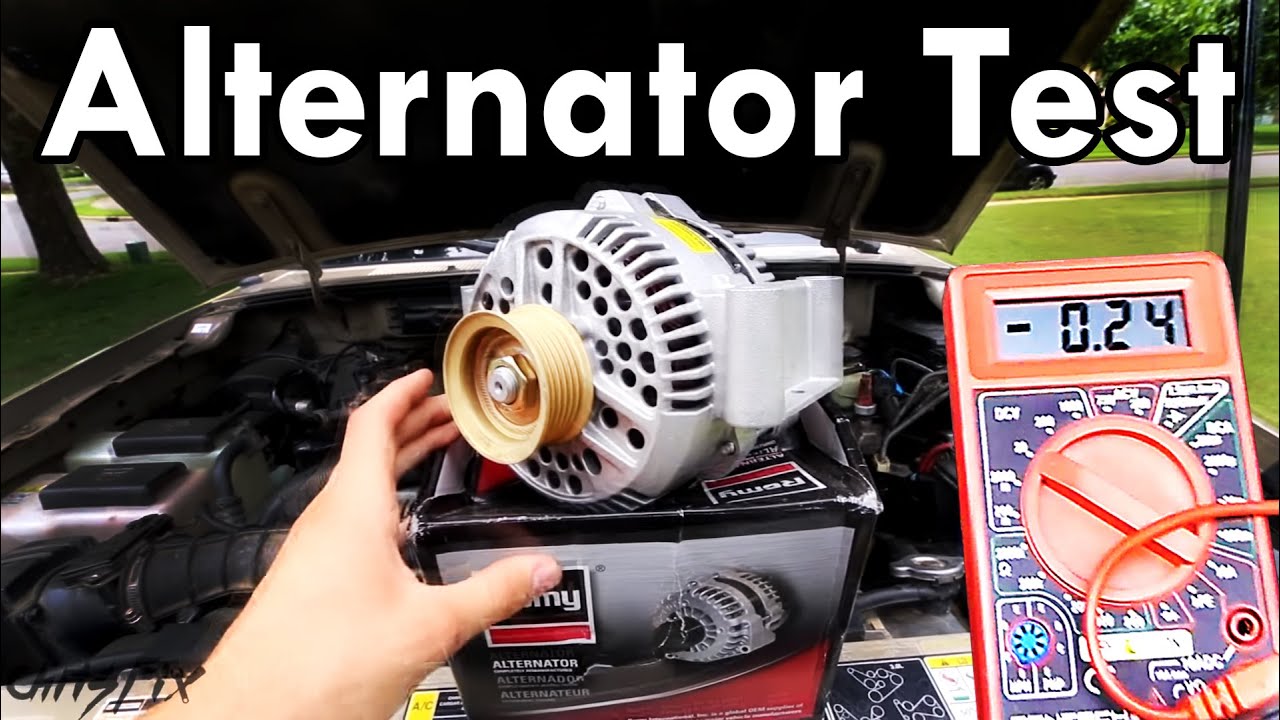
Reading the voltage on the multimeter is your next step. A healthy battery should read between 12.4 to 12.7 volts without the engine running. When the engine is running, it should increase to 13.7 to 14.7 volts, indicating the alternator is charging the battery.
Feeling that rush when you see the numbers aligning perfectly? It’s like the car’s telling you, ‘I’m ready for the road!’ Can you imagine the confidence boost from knowing your alternator is working well?
Interpreting Results
Understanding the results can make all the difference in diagnosing alternator issues. If the voltage is below 13.7 volts with the engine running, your alternator might be failing to charge the battery.
On the flip side, if the voltage exceeds 14.7 volts, the alternator might be overcharging, which can damage the battery over time. Both situations require further inspection or professional help.
Isn’t it empowering to know exactly what’s going on under the hood? You’re not just relying on mechanics; you’re taking charge. What’s stopping you from becoming your car’s best diagnostician?
By following these steps, you’ll be better equipped to understand your car’s alternator health. It’s not just about fixing problems—it’s about preventing them.
Testing Alternator Output
Testing an alternator’s output ensures your car battery charges properly. Start by using a multimeter to measure voltage at the battery. A healthy alternator should show 13. 8 to 14. 4 volts with the engine running. Low readings indicate potential issues needing further inspection or repair.
Testing the alternator output is a crucial step in diagnosing your car’s electrical system. A failing alternator can leave you stranded with a dead battery, so knowing how to test it can save you time and trouble. Whether you’re a seasoned car enthusiast or a beginner, understanding how to assess your alternator’s performance is essential.Engine Running Test
Start by ensuring your car is parked safely with the engine off. Grab a multimeter, a handy tool for measuring electrical values. Set it to DC voltage. Now, start your engine. Connect the multimeter’s probes to the battery terminals. Positive to positive, negative to negative. You should see a reading between 13.8 to 14.8 volts. This range indicates your alternator is functioning well. If the reading is below this, your alternator might be struggling. Over 14.8 volts? That’s a sign it’s overcharging, which can damage the battery.Analyzing Voltage Readings
Once you have your voltage reading, it’s time to interpret the results. A healthy alternator maintains voltage within the specified range even under load. Turn on various electrical components like headlights, radio, and air conditioning. Watch the multimeter. Does the voltage stay consistent? If it drops significantly, the alternator might be weak. Consider your driving habits. Do you often drive with heavy electrical loads? Then you need a robust alternator. If your alternator isn’t keeping up, it may be time for a replacement. Have you tested your alternator before? What surprised you about the process? Share your experience and help others make informed decisions about their car’s health.Assessing Alternator Belt And Connections
Checking the alternator belt and connections is crucial in testing a car’s alternator. Ensure the belt is tight and connections secure for optimal performance. Faulty components can lead to battery problems, making regular inspection essential.
Assessing the alternator belt and connections is crucial in ensuring your car’s alternator functions properly. A faulty alternator can leave you stranded, so it’s vital to keep everything in check. Whether you’re a seasoned DIY mechanic or just starting, understanding these components can save you time and money. ###Checking Belt Tension
Start by examining the alternator belt. It should be tight but not overly so. A loose belt can slip, causing the alternator to undercharge or not charge at all. Press down on the belt with your thumb. It should only move about half an inch. If it moves more, it’s time to adjust it. Ever had a squealing noise when you start your car? That could be the belt warning you it’s too loose. A quick check can prevent further damage. ###Inspecting Electrical Connections
Next, let’s look at the electrical connections. A secure connection is essential for the alternator to supply power effectively. Ensure all connections are clean and free from corrosion. Corroded terminals can cause poor electrical flow and lead to alternator failure. Use a wrench to tighten any loose connections. Even a slightly loose connection can disrupt the alternator’s function. Think about when you last checked these connections. Are you confident they’re in good shape? A small effort now can save a big headache later.Credit: www.autozone.com
Troubleshooting And Solutions
Testing a car’s alternator involves checking voltage output and inspecting electrical connections. A multimeter helps measure the alternator’s performance accurately. Ensure all connections are secure and free from corrosion for optimal functioning.
Testing your car’s alternator might seem daunting at first, but with the right approach, you can troubleshoot and resolve issues effectively. Understanding the common problems and knowing when to seek professional help are crucial to keeping your vehicle in top condition. Have you ever wondered why your car’s battery keeps dying or why the headlights flicker while driving? Let’s dive into the potential causes and solutions.Common Issues And Fixes
Your alternator is responsible for charging the battery and supplying power to the electrical systems while the engine runs. Some common signs of alternator issues include dim headlights, a dead battery, or unusual noises. Imagine you’re driving at night and your headlights start to dim. It can be unsettling, right? This might signal your alternator isn’t charging the battery properly. A simple fix could be checking and tightening the alternator belt. If the belt is loose, it won’t spin the alternator efficiently. If your battery frequently dies, it might not be the battery itself that’s the issue. Consider testing the alternator output with a multimeter. A healthy alternator usually shows a voltage between 13.5 and 14.5 volts when the engine is running. Anything outside this range might indicate a problem. Unusual noises coming from the alternator area could point to worn bearings. Replacing them might solve the problem and save you from bigger issues down the road.When To Seek Professional Help
Sometimes, despite your best efforts, the problem persists. Should you keep trying to fix it yourself? Not always. Knowing when to call in the experts can save time and prevent further damage. If you’ve tried the basic checks and your car still won’t start, it might be time to seek professional help. Technicians have specialized tools to diagnose complex electrical issues that might be beyond a DIY fix. Another scenario is if you’re unsure about the alternator’s condition. It’s better to consult a professional for a thorough inspection. They can identify subtle issues that might not be apparent to the untrained eye. Have you ever faced an alternator issue and felt overwhelmed? You’re not alone. Many drivers encounter this challenge, but knowing when to seek help can make a difference. Your car’s health is worth it. Remember, maintaining your alternator not only ensures your vehicle runs smoothly but also enhances your driving experience. So, the next time your car acts up, ask yourself: is it a quick fix or time for expert advice?Maintenance Tips
Testing a car’s alternator involves checking voltage output with a multimeter. Ensure the car is off, then connect the multimeter to the battery terminals. Start the car and observe the voltage reading; it should be between 13. 8 to 14.
5 volts, indicating proper alternator function.
When it comes to keeping your car in top shape, maintaining the alternator is crucial. This component is often overlooked until it’s too late, leading to unexpected breakdowns. Regular maintenance can save you from these hassles, ensuring your car runs smoothly and efficiently. Let’s dive into some practical maintenance tips for your car’s alternator that you can easily follow.Regular Inspections
Start by scheduling regular inspections. Checking your alternator every six months can prevent many issues. Look for signs of wear, such as frayed belts or corrosion. A quick visual check under the hood can often catch these problems early. Use a voltmeter to test the alternator’s output. This tool is affordable and can quickly tell you if the alternator is charging correctly. Aim for a reading between 13.8 to 14.2 volts with the engine running.Long-term Care
Think about the long-term health of your alternator. Keeping the engine bay clean reduces the risk of dirt and grime affecting its performance. Use a brush or air compressor to clear away any dust or debris. It’s a simple step that can significantly extend the alternator’s lifespan. Consider the quality of replacement parts. Cheap parts might save money upfront but can lead to costly repairs down the line. Opt for trusted brands that offer reliability and longevity. Are you noticing flickering dashboard lights or strange noises? These can be early warnings of alternator trouble. Don’t ignore them. Early detection can save you from major headaches. By actively caring for your alternator, you not only extend its life but also enhance your car’s overall performance. These maintenance tips are simple yet effective, and they can make a world of difference. So, next time you’re under the hood, give your alternator the attention it deserves.Credit: www.familyhandyman.com
Frequently Asked Questions
How Do You Check If Your Alternator Is Bad?
Check the dashboard warning light for battery issues. Test the battery with a multimeter. Listen for unusual noises from the alternator. Observe dimming headlights or electrical issues. Visit a mechanic for a professional diagnosis.
How Can I Test My Alternator Without Removing It?
To test your alternator without removing it, use a multimeter. Set it to DC voltage. Start the engine and check the battery voltage. A reading between 13. 8 and 14. 8 volts indicates a working alternator. If lower, the alternator may need attention.
Which Battery Cable Do You Take Off To Test The Alternator?
Remove the negative battery cable to test the alternator. Ensure the engine is running while disconnecting it. If the engine keeps running, the alternator is functioning properly. Remember, this test can be risky and may cause damage. It’s safer to use a multimeter for testing.
Can I Bench Test An Alternator?
Yes, bench testing an alternator is possible using a multimeter. Ensure it’s securely mounted and connected. Check voltage output, usually between 13. 5 to 14. 5 volts, to confirm functionality. Regular testing helps identify issues early, maintaining vehicle performance. Always follow safety precautions during testing for accurate results.
Conclusion
Testing your car’s alternator is essential for vehicle health. It ensures your battery charges properly. Use simple tools like a multimeter. Follow basic steps to check voltage output. A healthy alternator boosts your car’s performance. Regular checks prevent unexpected breakdowns.
Save time and money with early detection. Troubleshooting is straightforward with practice. Consult a mechanic if unsure. Remember, a well-maintained alternator prolongs your car’s life. Stay safe and keep your vehicle in top shape. Happy driving!