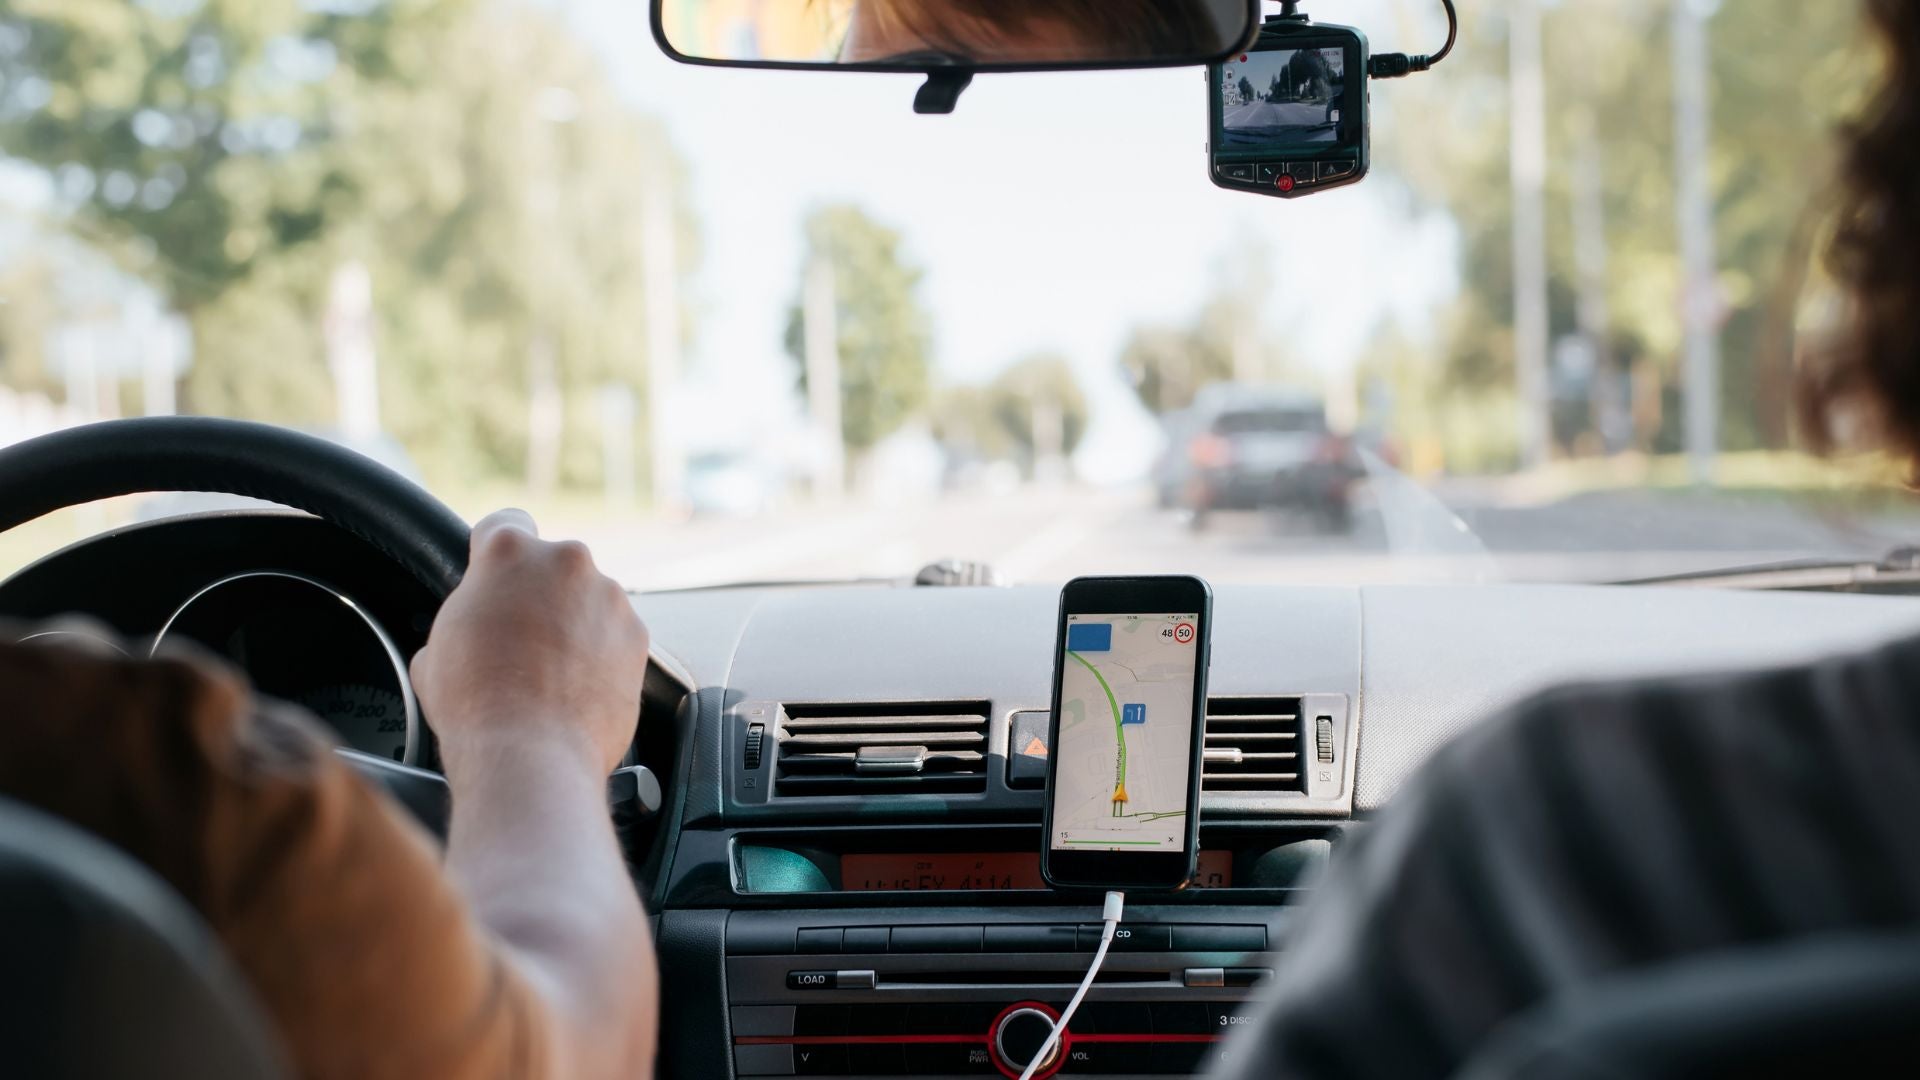
You know the struggle of trying to navigate while driving. You need directions, but holding your phone isn’t safe.
This is where a car phone mount comes in handy. It keeps your phone secure and within easy reach. Imagine never having to fumble with your device again while behind the wheel. Installing a car phone mount is simple, but doing it right ensures your phone stays put.
In this guide, you’ll discover the steps to install your car phone mount quickly and effectively. You’ll learn how to choose the perfect spot and avoid common mistakes. By the end of this article, you’ll have peace of mind knowing your phone is safely mounted, leaving you free to focus on the road ahead. Ready to transform your driving experience? Let’s dive in!

Credit: www.youtube.com
Choosing The Right Mount
Installing a car phone mount requires selecting the right type for your vehicle. Consider dashboard, windshield, or vent mounts. Ensure it offers a secure grip and adjusts easily for visibility.
Choosing the right car phone mount is essential for a hassle-free driving experience. With countless options available, finding the perfect mount can feel overwhelming. But don’t worry, we’ve got you covered with practical tips and insights to help you make the best choice.Understand Your Needs
Consider how often you use your phone for navigation or hands-free calls. If it’s a daily ritual, you’ll need a mount that’s easily adjustable and durable. If you’re using it occasionally, a simpler, less expensive option might suffice.Assess Your Car’s Interior
Take a look around your car. Is there ample space on your dashboard, or would a vent-mounted option be more practical? Each car is different, and the right mount should fit seamlessly into your vehicle’s layout. I once opted for a vent mount, only to find it blocked my air conditioning—lesson learned!Check Phone Compatibility
Ensure the mount can accommodate your phone’s size and weight. Some mounts are versatile, while others are designed for specific phone models. If you recently upgraded your phone, double-check compatibility before making a purchase.Consider Ease Of Installation
You don’t want a mount that requires a toolbox and an engineering degree to install. Look for mounts with simple, tool-free installation. Suction cups, clamps, and magnetic options are often straightforward. A friend once spent an entire afternoon wrestling with a complicated installation, only to return it the next day.Evaluate Stability And Security
A good mount should hold your phone securely even on bumpy roads. Test the mount’s grip and stability before committing. If you’ve ever had your phone fall mid-drive, you know how important this is for safety and peace of mind.Think About Adjustability
Adjustability is key for optimal viewing angles. Look for mounts with 360-degree rotation or flexible arms. This feature ensures you can easily switch between portrait and landscape modes, keeping your phone visible without straining your neck.Prioritize Quality Over Price
While it’s tempting to go for the cheapest option, investing in a quality mount can save you headaches in the long run. High-quality materials and construction mean better durability and performance. A cheap mount may need frequent replacements, costing you more over time. Choosing the right car phone mount isn’t just about picking the first one you see. It’s about finding a balance between functionality, compatibility, and quality that suits your specific needs. As you shop, keep these tips in mind and ask yourself: will this mount make my driving experience safer and more convenient?Preparing Your Car Interior
Preparing your car interior is the first step to installing a phone mount. A clean and organized space ensures a smooth installation process. It also helps in maintaining the mount’s stability and longevity.
Cleaning The Dashboard
Start by cleaning your car’s dashboard. Dust and grime can affect the mount’s grip. Use a gentle cleaner or a damp cloth. Wipe the surface thoroughly. This removes any debris or dirt.
Identifying The Best Spot
Choose the right spot for the mount. Consider visibility and accessibility. The location should not block any important controls. It should be easy to reach while driving.
Removing Obstructions
Clear any obstructions from the chosen area. Remove items like air fresheners or other decorations. Ensure the space is free and clear. This allows for a secure installation of the mount.
Checking Air Vents
Inspect the air vents if you plan to use them. Ensure they are clean and functional. A clogged vent can affect air flow. This might impact the mount’s placement.
Testing The Surface
Test the surface for compatibility. Some mounts need a smooth or textured surface. Ensure the chosen spot matches the mount’s requirements. This ensures a secure attachment.
Prepare your car interior with care. It makes the installation easier. A well-prepared space leads to a successful setup.
Cleaning The Mounting Surface
Installing a car phone mount ensures safety and convenience on the road. A crucial step is cleaning the mounting surface. This ensures a secure and long-lasting hold. Proper cleaning prevents the mount from slipping or falling. It’s essential for a smooth installation process.
1. Gather Your Cleaning SuppliesStart by collecting basic cleaning supplies. You need a clean cloth, mild soap, and water. These items will help remove dirt and dust effectively. Avoid using harsh chemicals. They can damage the dashboard or windshield surface.
2. Wipe Down the SurfaceUse the clean cloth to wipe the surface gently. Ensure you cover the entire area where the mount will go. This removes any loose particles. It prepares the surface for deeper cleaning. Make sure the cloth is lint-free for best results.
3. Apply Mild Soap SolutionMix mild soap with water in a small bowl. Dip a soft cloth into the solution. Gently rub the surface in circular motions. This helps lift stubborn dirt and grime. Rinse the cloth as needed. Remove all soap residue thoroughly.
4. Dry the Surface CompletelyAfter cleaning, dry the surface with a clean, dry cloth. Moisture can weaken the adhesive of the mount. Make sure the surface is completely dry before proceeding. This ensures the mount sticks firmly.
5. Inspect for Any Remaining DebrisCheck the surface for any remaining dust or debris. Even small particles can affect the mount’s grip. Use a dust-free cloth to remove any leftover particles. A clean surface ensures a strong and secure attachment.
Positioning The Mount
Installing a car phone mount can make driving safer and more convenient. Choosing the right position for your mount is crucial. Proper positioning ensures easy access and minimal distraction.
A well-placed mount enhances visibility and keeps your focus on the road. Let’s explore how to find the perfect spot for your car phone mount.
Choosing The Right Spot
Select a spot that doesn’t block your view. Avoid placing the mount on the windshield if it obstructs driving. Consider the dashboard for a lower, safer position. Ensure the spot allows easy glance access.
Avoiding Airbag Zones
Never place the mount near airbag deployment zones. This ensures safety during sudden stops or collisions. The dashboard or window corners are safer choices. Check your car manual for airbag locations.
Testing For Stability
Once a spot is chosen, test the mount’s stability. Ensure it doesn’t wobble or shake while driving. A stable mount keeps your phone secure. Adjust until it holds firm.
Adjusting For Accessibility
Ensure the mount allows easy phone access. You should reach it without strain. Adjust the angle for a clear view. This helps when using GPS or answering calls.
Securing The Mount
Securing your car phone mount correctly ensures safety and convenience. Proper installation prevents your phone from slipping or falling. This guide will help you secure your mount with ease.
Choosing The Right Spot
Pick a location that is within reach and offers clear visibility. The dashboard or windshield are common choices. Ensure the spot doesn’t block your view while driving.
Cleaning The Surface
Dirt can affect how well the mount sticks. Use a clean cloth to wipe the surface. Make sure there is no dust or grime left.
Attaching The Mount
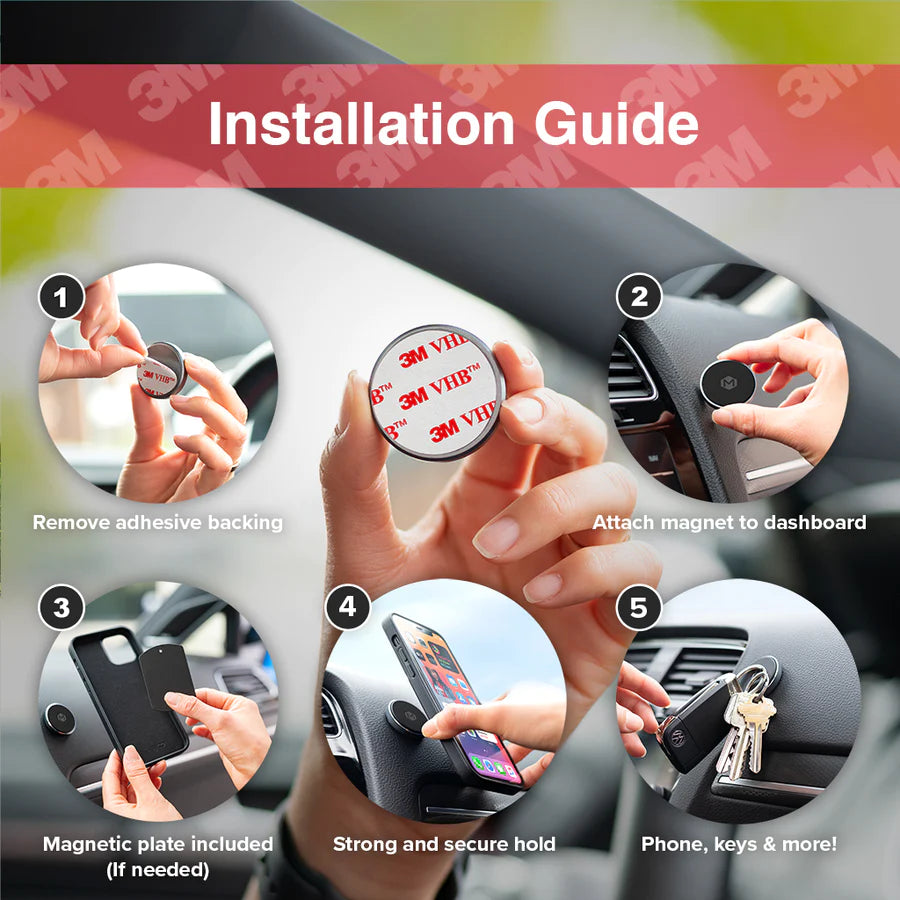
Press the mount firmly against the chosen spot. Hold it for a few seconds to ensure a strong grip. Check if the suction or adhesive is secure.
Adjusting The Angle
The angle of your phone should be easy to see. Tilt and rotate the mount until the screen is clearly visible. Make adjustments until you’re satisfied.
Testing Stability
Place your phone in the mount and check stability. Shake it lightly to ensure it stays put. If it moves, reposition the mount and test again.

Credit: arkon.com
Testing Stability And Adjustments
After successfully mounting your car phone holder, the next crucial step is to test its stability and make necessary adjustments. Imagine driving down a bumpy road, and your phone suddenly drops because the mount wasn’t secure. Annoying, right? Ensuring stability means peace of mind while navigating or making hands-free calls.
Testing Stability
Start by gently shaking the mount with your hand. This simulates the vibrations and movements your car experiences on the road. If the mount wobbles, it’s time to make adjustments.
Drive around your neighborhood, observing how well the mount holds your phone. Pay attention to sudden stops or turns. Does the phone stay in place? If not, it might need repositioning or tighter adjustments.
Adjusting The Mount
Check the grip on your phone. Is it snug? A loose grip could lead to your phone slipping out. Tighten the holder, but ensure it’s not so tight that it damages your phone.
Look at the angle of your phone. Is the screen visible and easy to read? Adjust the angle to avoid glare, making sure you can see the display without straining your neck.
Re-evaluate After Adjustments
Once adjustments are made, do another test drive. This helps you determine if the changes improved stability. Notice if the phone remains steady even on uneven roads.
Ask yourself, does the mount make your driving experience more convenient? If not, explore further adjustments or consider a different mount model that suits your needs better.
Testing and adjusting your car phone mount isn’t just about functionality; it’s about enhancing your driving experience. Have you ever had to adjust a mount while driving? It’s distracting and potentially dangerous. By ensuring stability now, you save yourself future hassle.

Credit: www.themightymount.com
Frequently Asked Questions
How Do You Choose The Right Car Phone Mount?
Consider your car’s dashboard type. Check mount compatibility. Think about your phone size. Look for ease of installation.
Can A Car Phone Mount Damage My Car?
No, if installed correctly. Choose mounts with non-damaging adhesives or suction cups. Follow instructions carefully.
Why Does My Phone Fall From The Mount?
Loose grip or incorrect installation. Ensure secure fitting. Check if the mount is compatible with your phone size.
Conclusion
Installing a car phone mount is simple and convenient. First, select the right spot on your dashboard or windshield. Clean the area to ensure a firm grip. Next, attach the mount securely. Adjust the angle for a clear view. Test the stability with a gentle shake.
Make sure your phone fits snugly. Now, enjoy hands-free calls and navigation. Drive safer with this handy tool. Remember, a secure mount ensures a safe drive. Keep your eyes on the road, not your phone. Happy driving with your new car phone mount!
